EOS is one of the recently developed cryptocurrencies, which is becoming increasingly popular. Below you will find a detailed guide on how to buy EOS and store it.
Summary of the process:
- Get an EOS wallet – Ledger or Atomic are good choices
- Note your EOS wallet address
- Find an exchange, which offers EOS – Coinbase and Bitpanda are great choices
- Buy EOS on the exchange
- Send your EOS tokens to your wallet address for storage
Buy EOS Coin in three steps
Below you can see the detailed guide on how to purchase and store EOS in three simple steps.
Step 1 – Get a cryptocurrency wallet and EOS address
In order to be able to securely store your EOS tokens after purchase, you should find a reliable cryptocurrency wallet. Our top suggestions are Ledger and Atomic. Below you will see a detailed guide on how to get and use either of them.
Ledger
Pros: extremely secure, as it has virtually no touch with online environments
Cons: there is a physical device you have to carry around
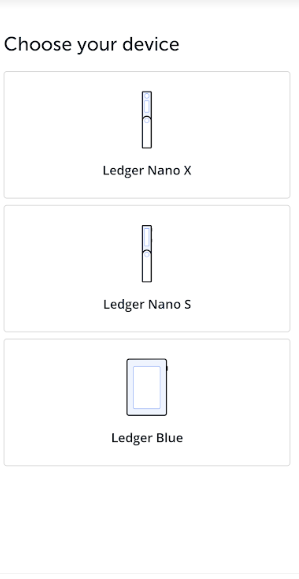
Ledger is a hardware cryptocurrency wallet, which looks very much like a USB flash drive, however, it performs complex functions and stores all your cryptocurrency assets. Getting yourself a Ledger is very easy, you can purchase a device here. There are currently three types of Ledger devices.
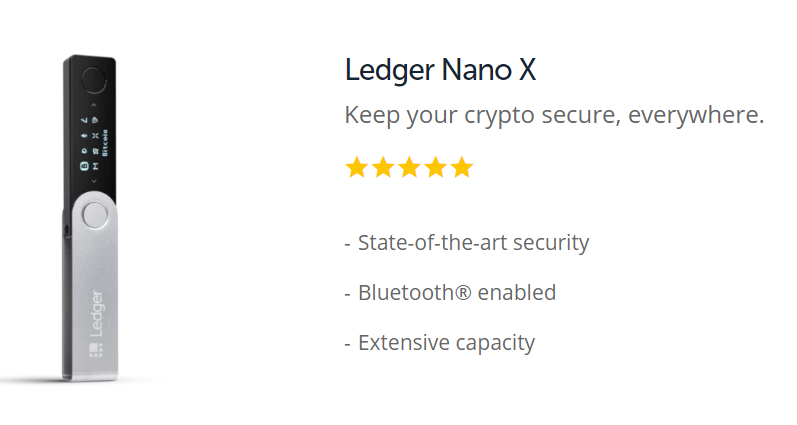
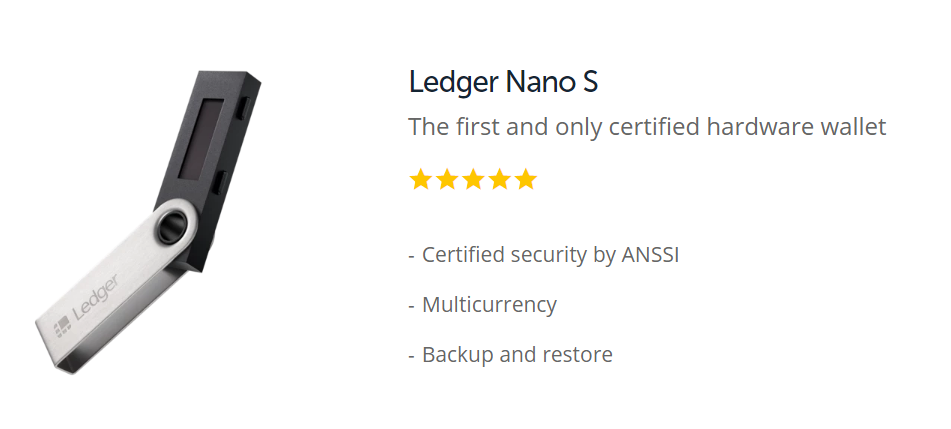
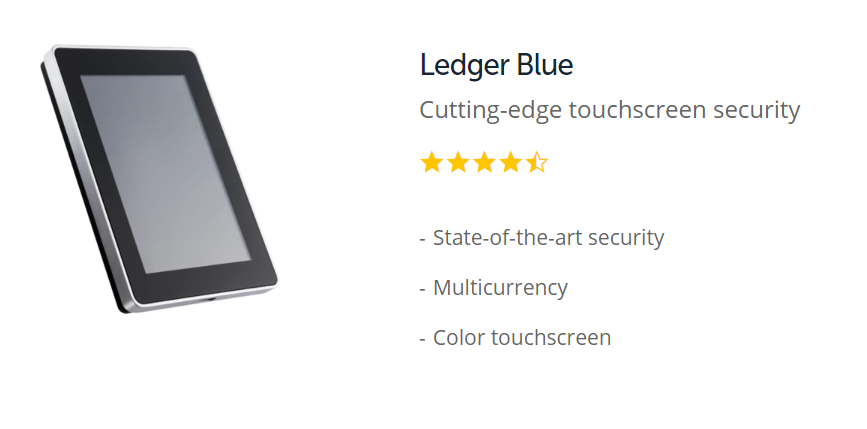
In order to start using the Ledger wallet, you have to download the desktop or mobile version of Ledger Live. This is the software, which facilitates the use of your Ledger wallet. For the purposes of this tutorial, we will be using the mobile version of Ledger Live, as it is easier to set up.
Here is the step by step process for setting up your Ledger Live application
1. Chose the device you are using
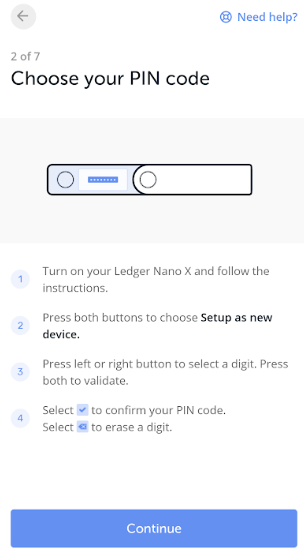
2. Follow the instructions to set up a PIN code for your device
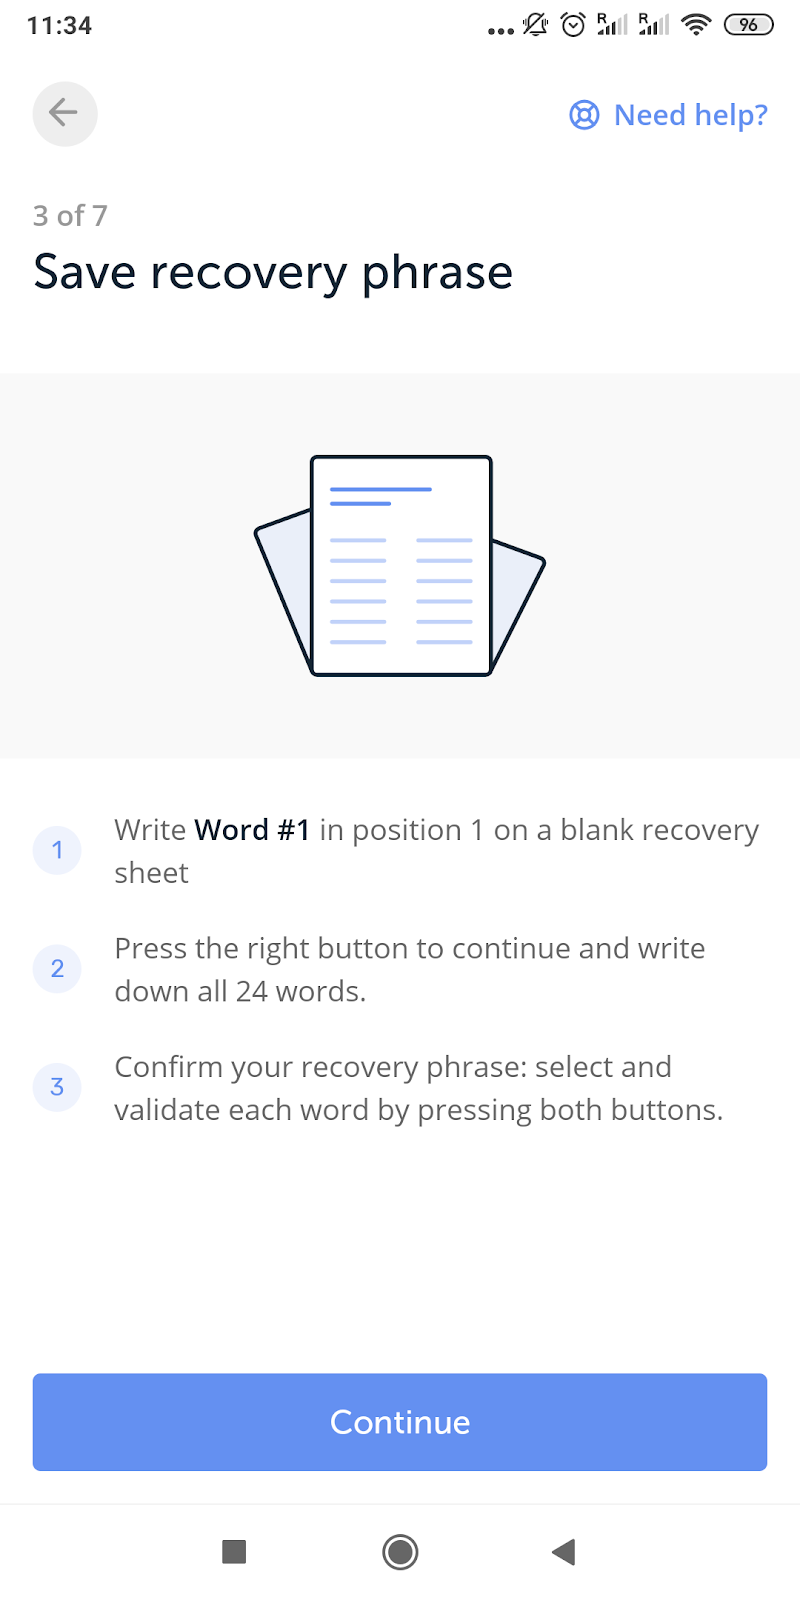
3. Choose a recovery phrase, and make sure to remember it – this is the only way to retrieve your profile and funds if you forget your PIN code
4. Pair your Ledger device to your mobile phone via Bluetooth (or via USB connection if you are using the desktop application).

Once you’ve successfully paired your device you will be all set for storing cryptocurrency on it. Make note of the wallet address once you’ve completed the pairing, as this is where you will be sending your funds.
Ledger Live is available for all computer and mobile operating systems.
Atomic
Pros: Easy to set up and use from your computer or mobile
Cons: Does not have the added layer of security of a hardware wallet
Atomic is a software-based cryptocurrency wallet, which supports the storage of numerous different tokens, including EOS. In total, you can store more than 300 other cryptocurrencies in Atomic. In order to use the wallet, you have to visit the Atomic website or download the app straight from your mobile application store. We are going to be using the mobile version for this tutorial. Here is a step-by-step guide to setting up your Atomic wallet:
1. Save and install the Atomic app on your mobile
2. Click on create new wallet once the app loads

3. Chose a password for accessing your wallet
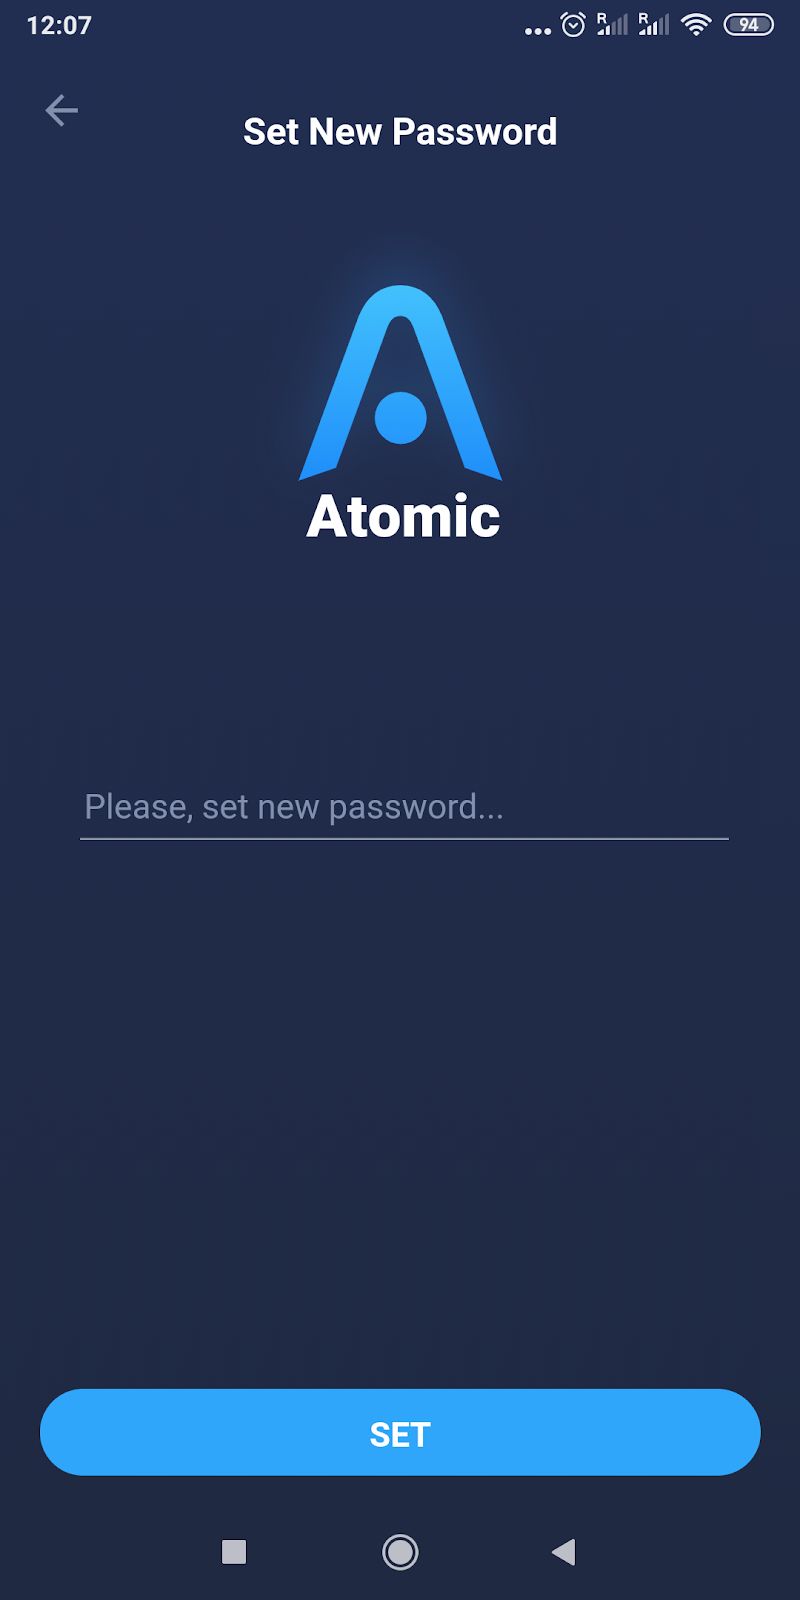
4. The next screen is very important – it shows you a 12-word backup phrase, which will be used in case you forget your password. As you can see the words have no meaning and were randomly selected for the sake of security. Make a note of this sequence of words, as it is your only backup option.
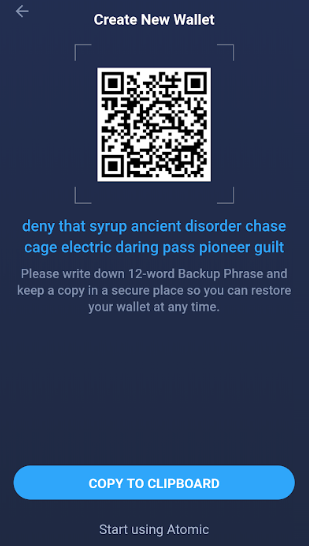
5. After writing down your backup passphrase, you will be redirected to the main menu, where you can see all the available cryptocurrencies and your wallet address for each one of them.
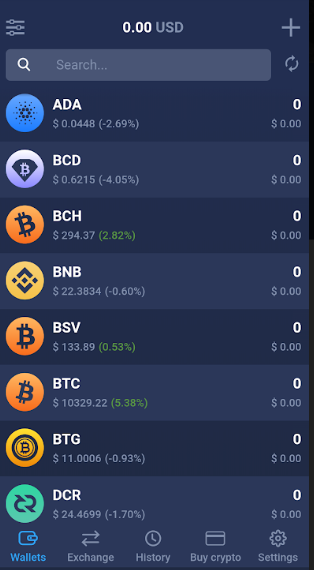
Probably the most significant advantage of the Atomic wallet is that it allows you to swap between currency balances in-app, or in other words, without the necessity to go through a cryptocurrency exchange.
N.B! Regardless of the wallet service you choose, you should make a note of your EOS wallet address – this is the most important piece of information you are going to receive from your cryptocurrency wallet. EOS wallet addresses always start with the characters 0x followed by a long string of letters and numbers. Here is an example:
0xd8a6ffc54dfg68db5db3a091b171a77407ff7ccf
Step 2 – Buy EOS on a cryptocurrency exchange
Before you start buying EOS on an exchange you will first have to create an account and verify it. No matter, which exchange you decide to use, you are going to have to complete a verification process. Our suggestions for reliable exchanges are Coinbase and Bitpanda.
Coinbase
Coinbase is one of the best-recognized cryptocurrency exchanges out there, as it is a pioneer in the field. In order to get EOS through Coinbase, you will first have to purchase one of the more established cryptocurrencies like Bitcoin, or Etheruem, and then convert it to EOS (you can do this easily in the Atomic wallet).
Briefly about the process:
- Get started by stating your name email and choosing a password
- Verify your email
- Set up your phone number for two-step verification
- Upload identity documents and proof of address
- Link your credit or debit card and top up with fiat currency
Pros: Coinbase is well-established and secure. It also comes with an integrated cryptocurrency wallet.
Cons: The verification process takes a bit longer than other exchanges – approximately two hours.
Here is a step by step guide to signing up and purchasing EOS on Coinbase:
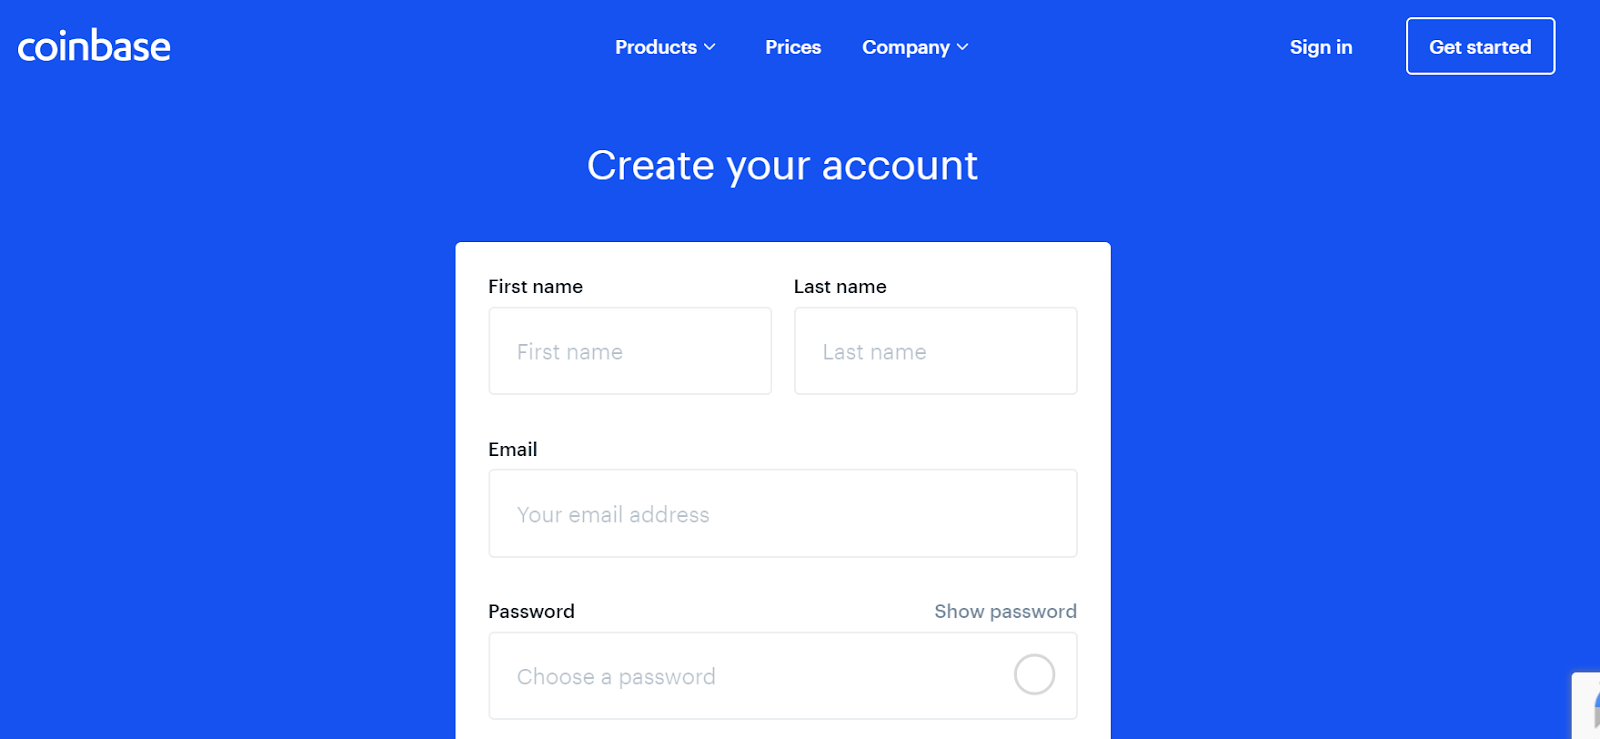
1. Create an account and fill in your login information
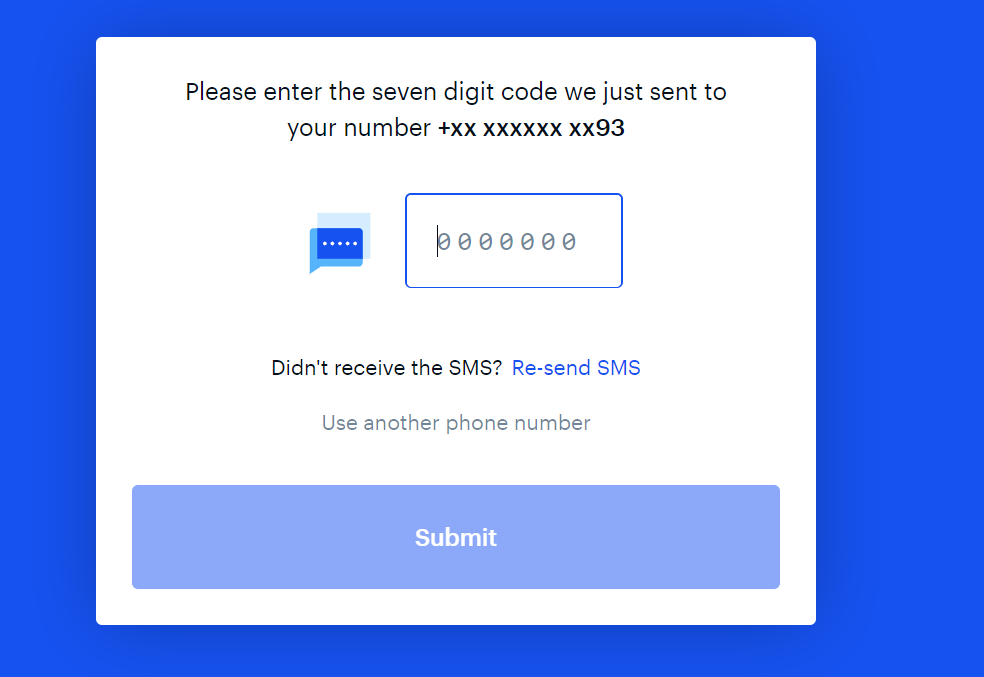
2. Provide your phone number, in order to go through the two-step verification and authenticate your account via a code sent to you through SMS
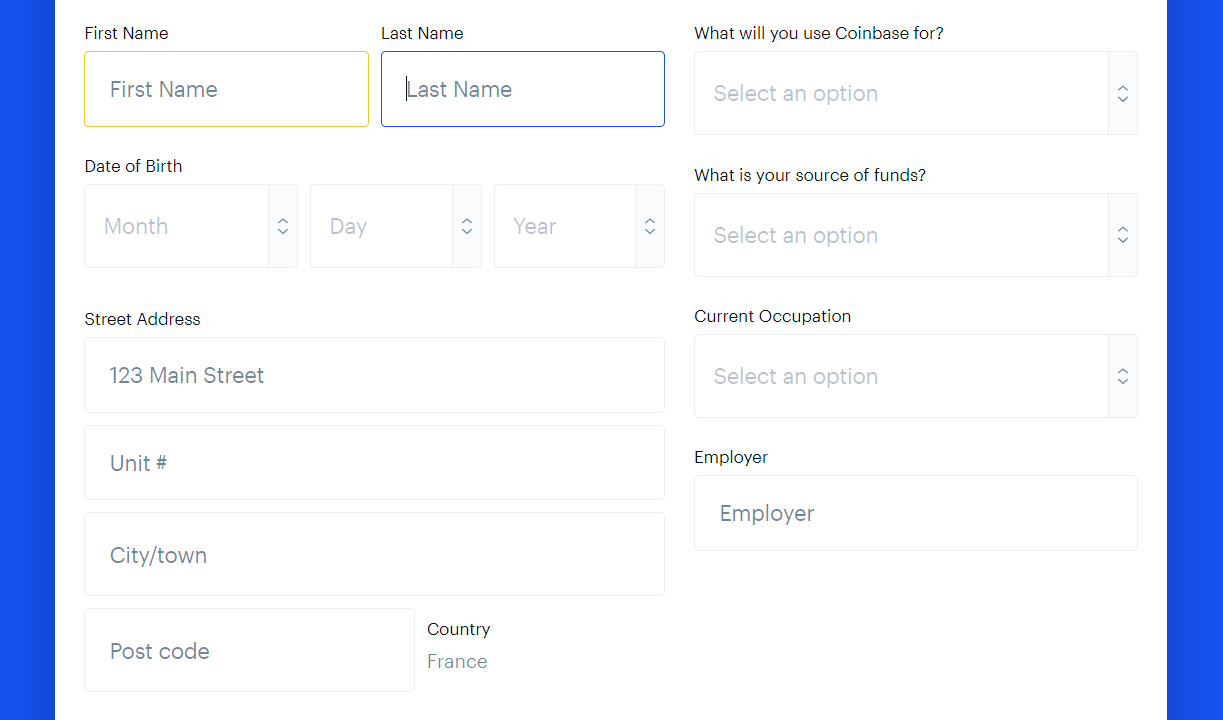
3. Fill in your personal information, and the purpose for your use of Coinbase
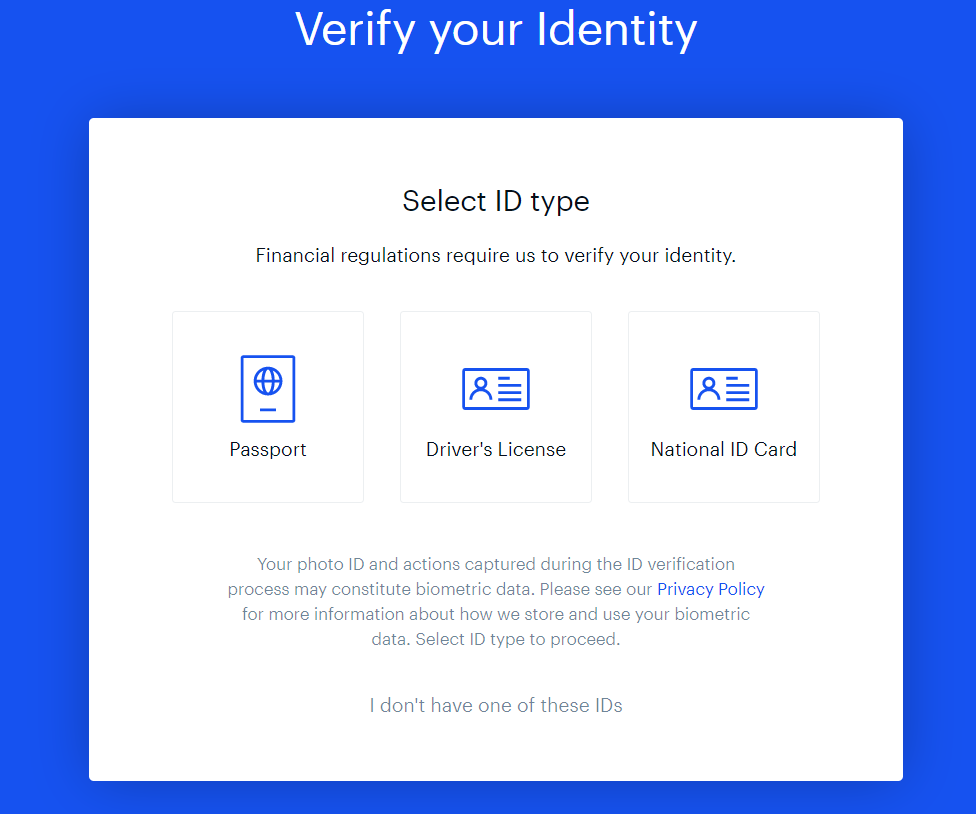
4. Verify your identity via passport, driver’s license, or personal ID
5. You can choose between three different ways to upload your personal documents
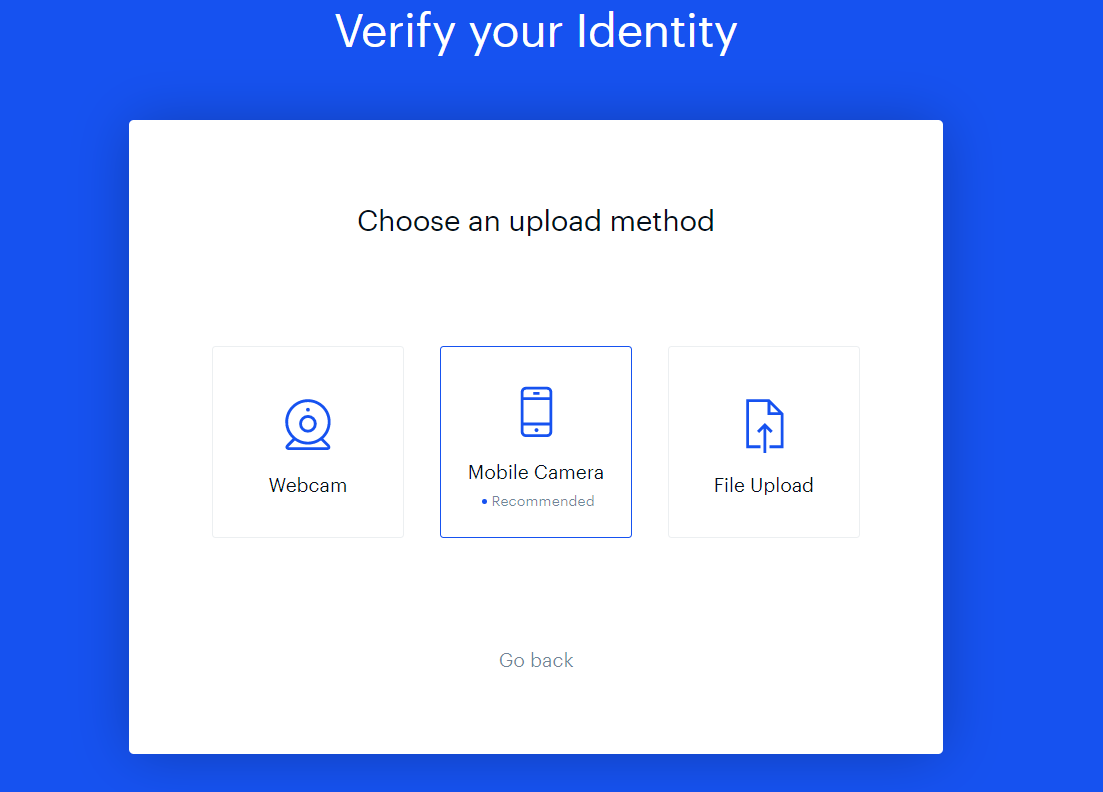
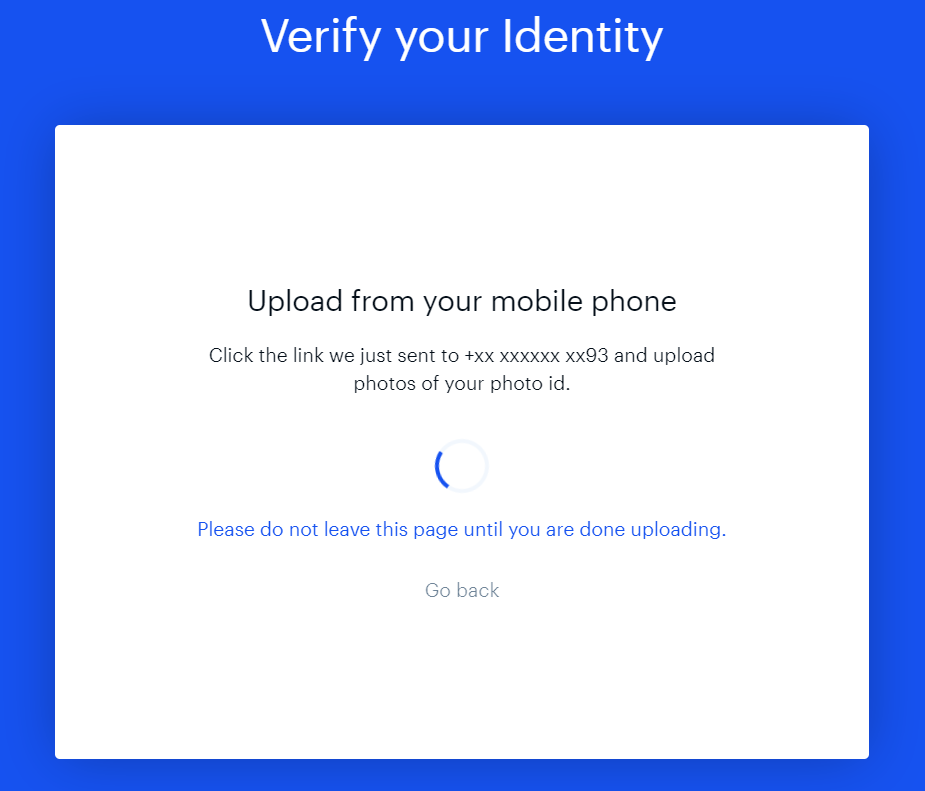
6. We chose the recommended upload method, which is through your mobile phone camera
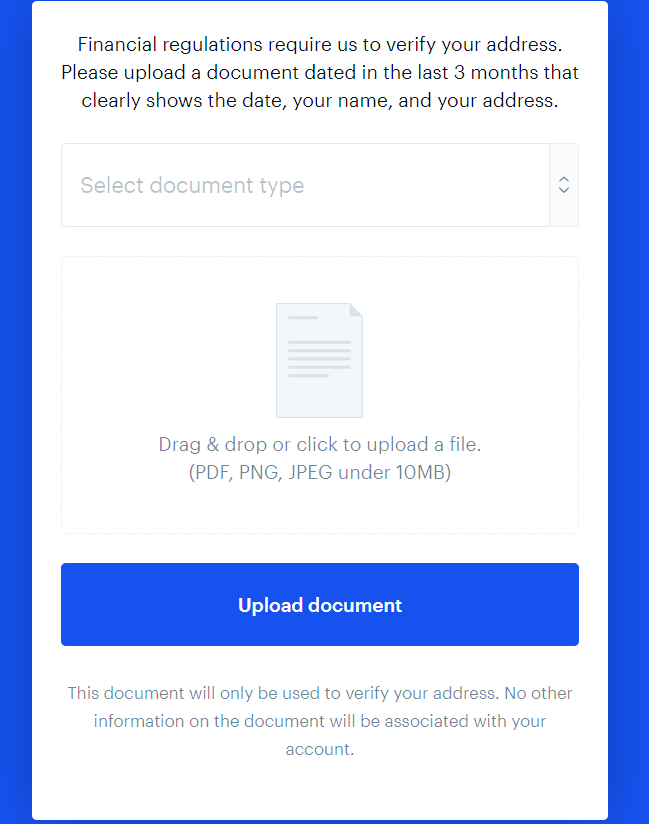
7. The final step of the verification process will take you to a screen asking for a recent document (past three months) which has your address on it – this is done to verify that you live at the address you state a few steps back.
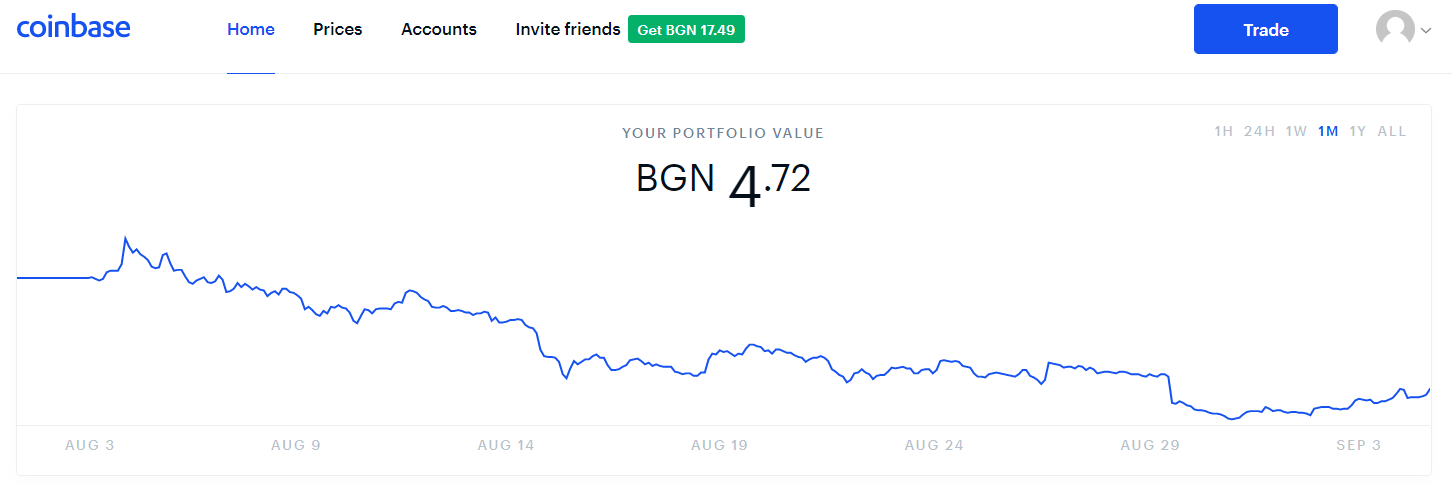
8. Once you’ve submitted all necessary documents you will get verified, and you will be redirected to the Coinbase home page.
9. By clicking the Trade button you will be redirected to the purchasing page, where you can deposit fiat currency into your account
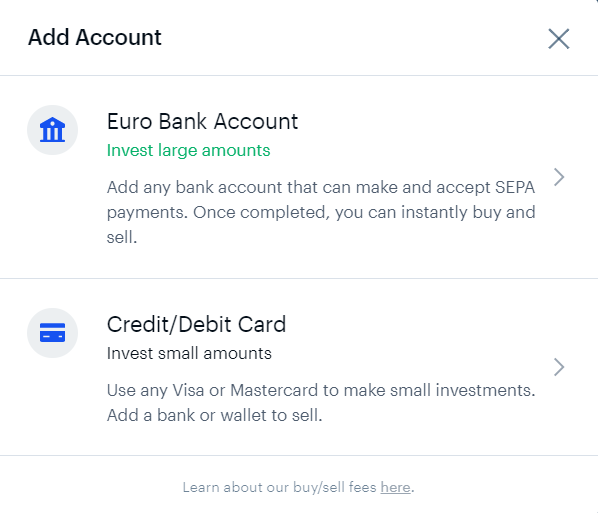
10. Once you’ve deposited funds in your account you will be able to exchange them for cryptocurrency
11. Coinbase does not support EOS purchases directly, so a good choice for you would be to buy Bitcoin or Ethereum, and send it to your Atomic wallet, where you can directly convert it to EOS
While Coinbase does not allow you to purchase EOS directly, it is one of the most trusted exchanges out there, which is why it is featured in this guide. If you wish to purchase EOS directly, you can move on to our second suggestion – Bitpanda.
Bitpanda
Bitpanda is another trusted cryptocurrency exchange, targeting customers in the euro area. Some of its biggest advantages include the easy verification process, and the ability to purchase EOS directly from the exchange.
Pros: Easy to use, automated platform, full wallet integration
Cons: Available only to customers in the euro area
Briefly about the process:
- Register on the platform and confirm your email address
- Verify your account by indicating your personal information
- Deposit fiat currency (US, EUR, etc.) and buy Bitpandas’ supported cryptocurrencies
Here is a step by step guide on how to purchase ESO on Bitpanda:
- Fill in your name and email address – the signup process takes only about a minute.
- Once signed up and logged in you will see all currencies available for purchase. However, before you can get some EOS, you will have to verify your account.
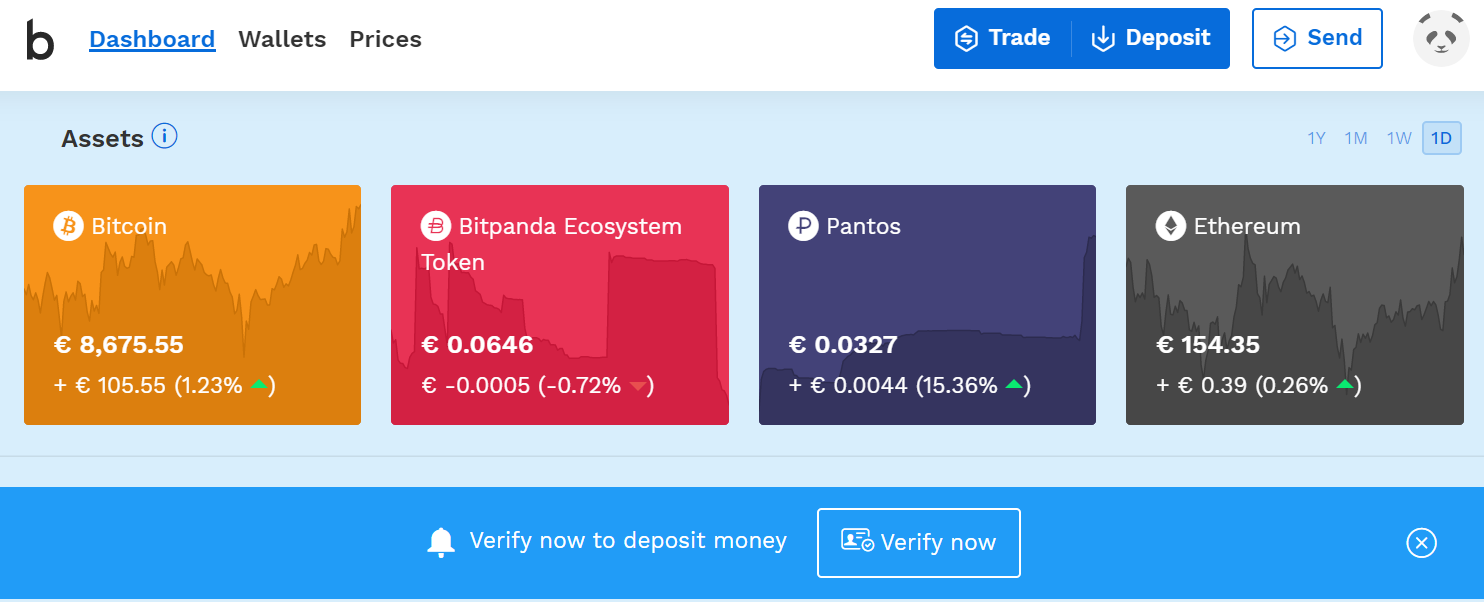
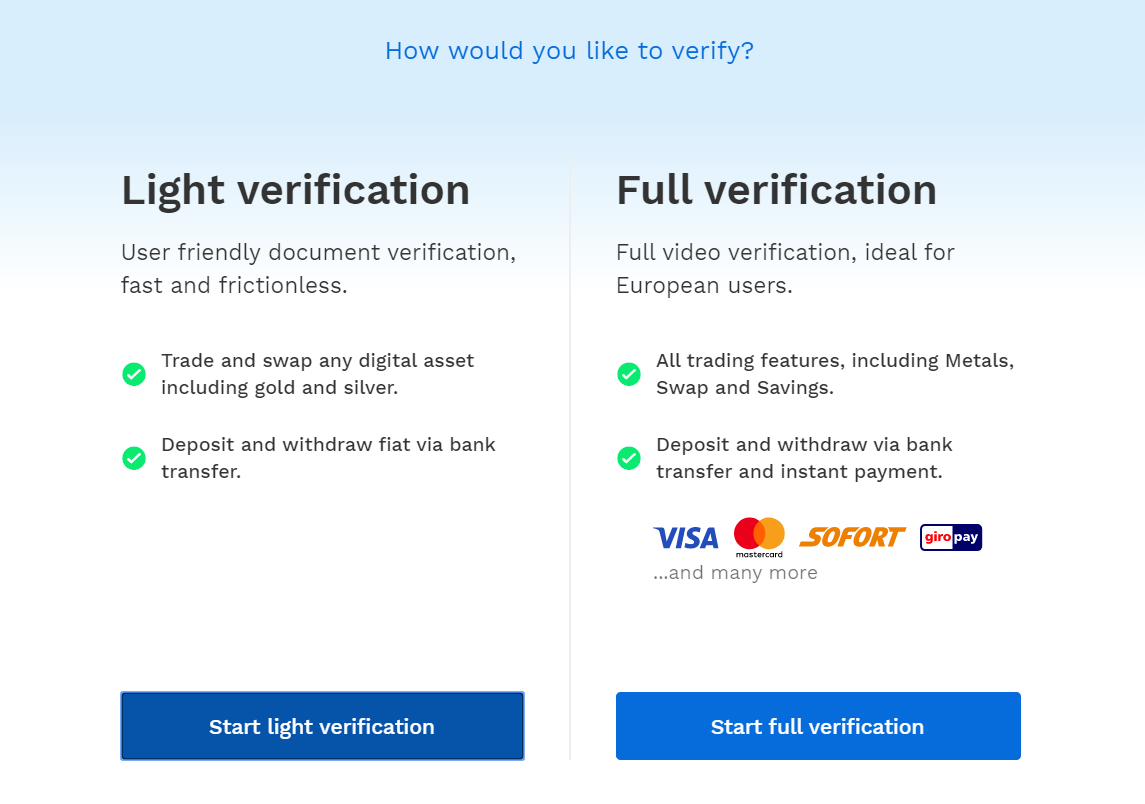
3. Clicking on Verify Now will take you to the first screen of the verification process, which gives you two options – a light or a full verification. To keep things simple we will go through the light version.
4. Next, you will have to fill in your personal information, your ID information and submit a biometric data sample (a selfie). This whole process happens on-site, without the need to upload any documents. You just have to show your ID to your computer or mobile camera.
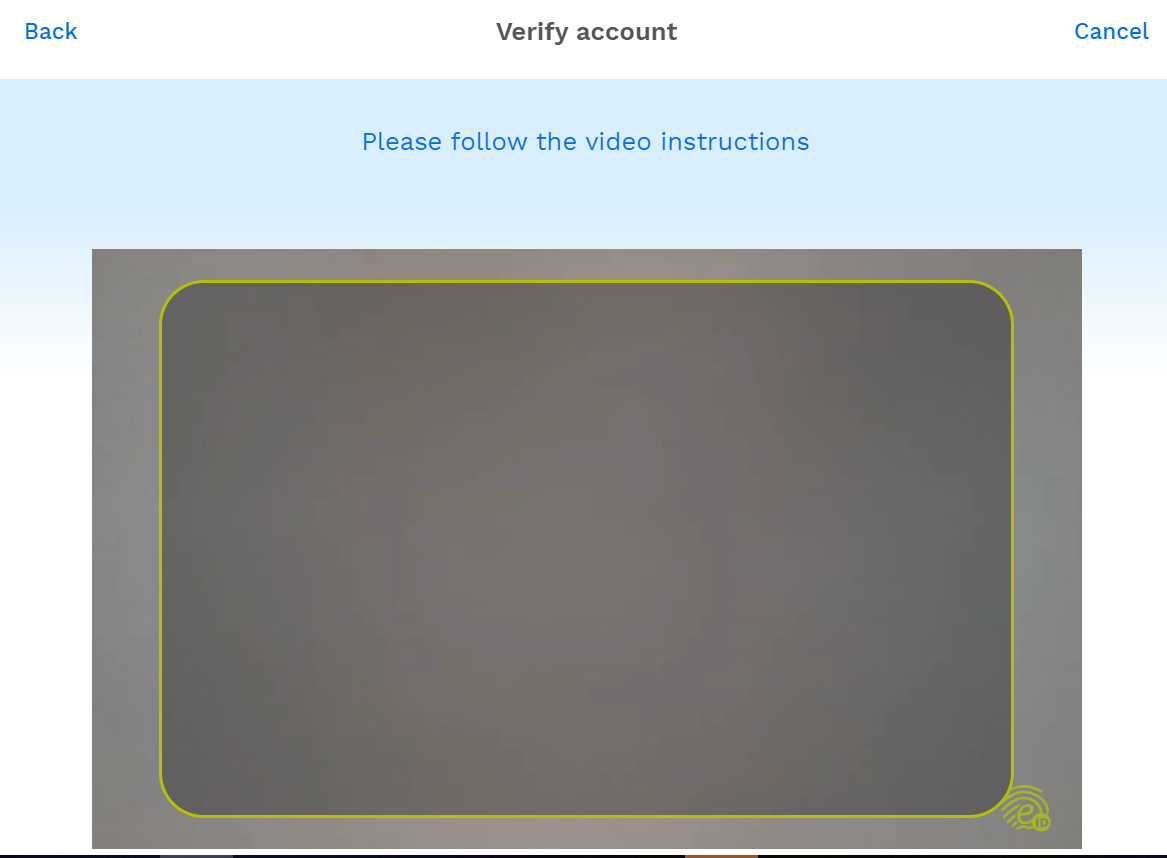
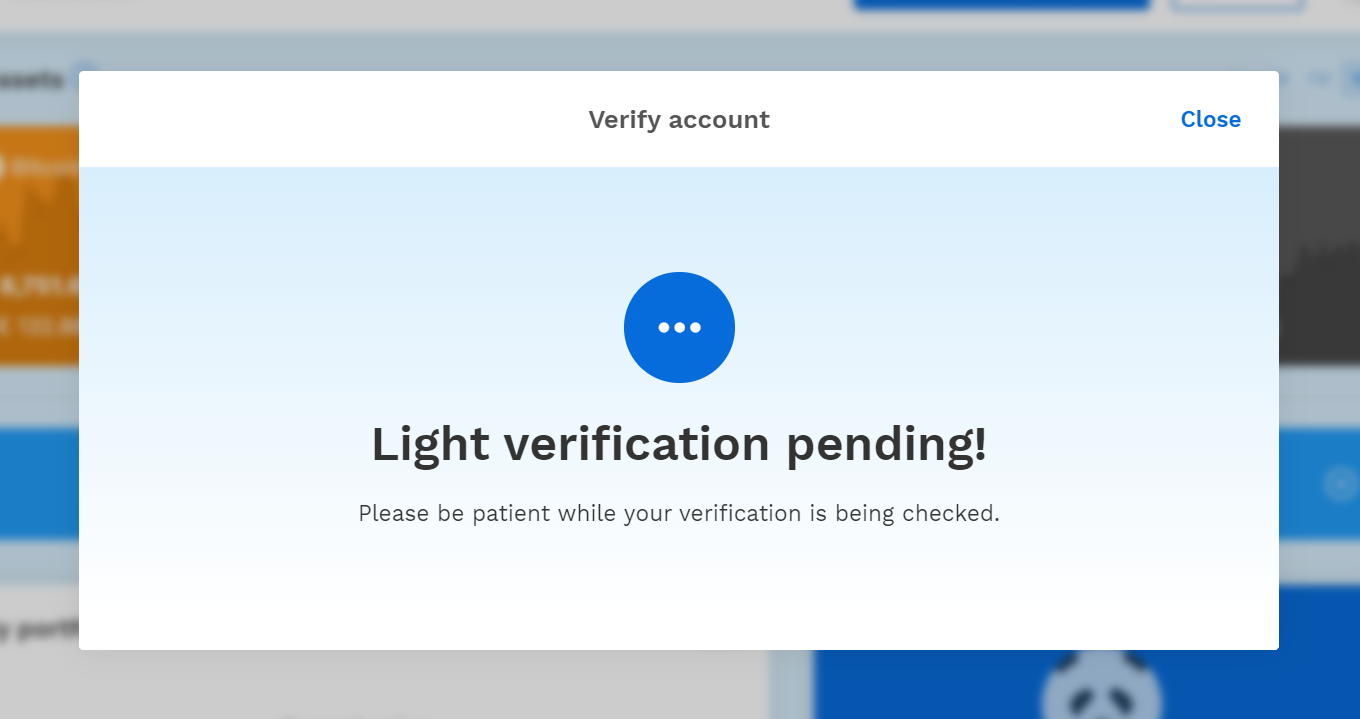
5. Once you’ve shown both sides of your ID and your face, your verification will enter the pending phase. It usually just takes several minutes for the Bitpanda team to verify your account.
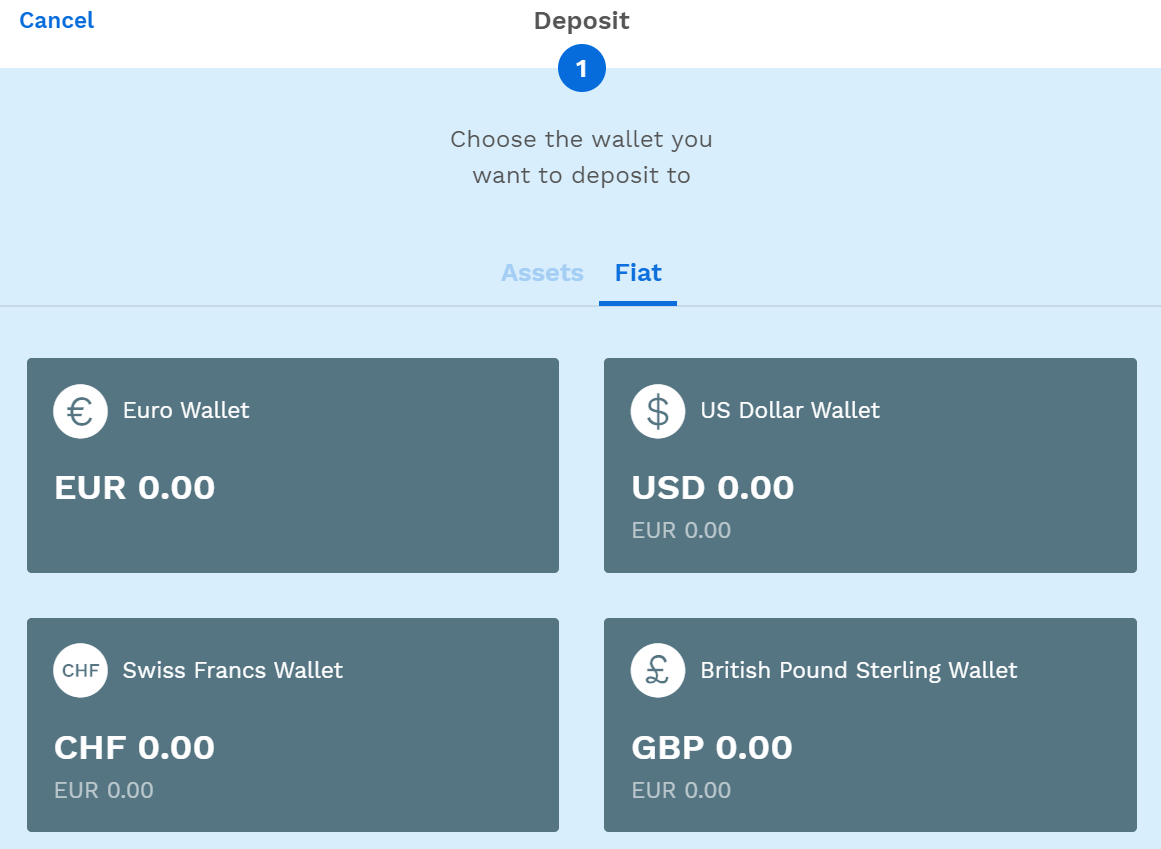
6. Once your account is verified you will be able to deposit fiat funds to it. Bitpanda accepts deposits in EUR, USD, CHF and GBP.
7. After depositing the desired amount of fiat currency, you will be able to trade it for EOS by clicking the bubble of the cryptocurrency on the homepage.

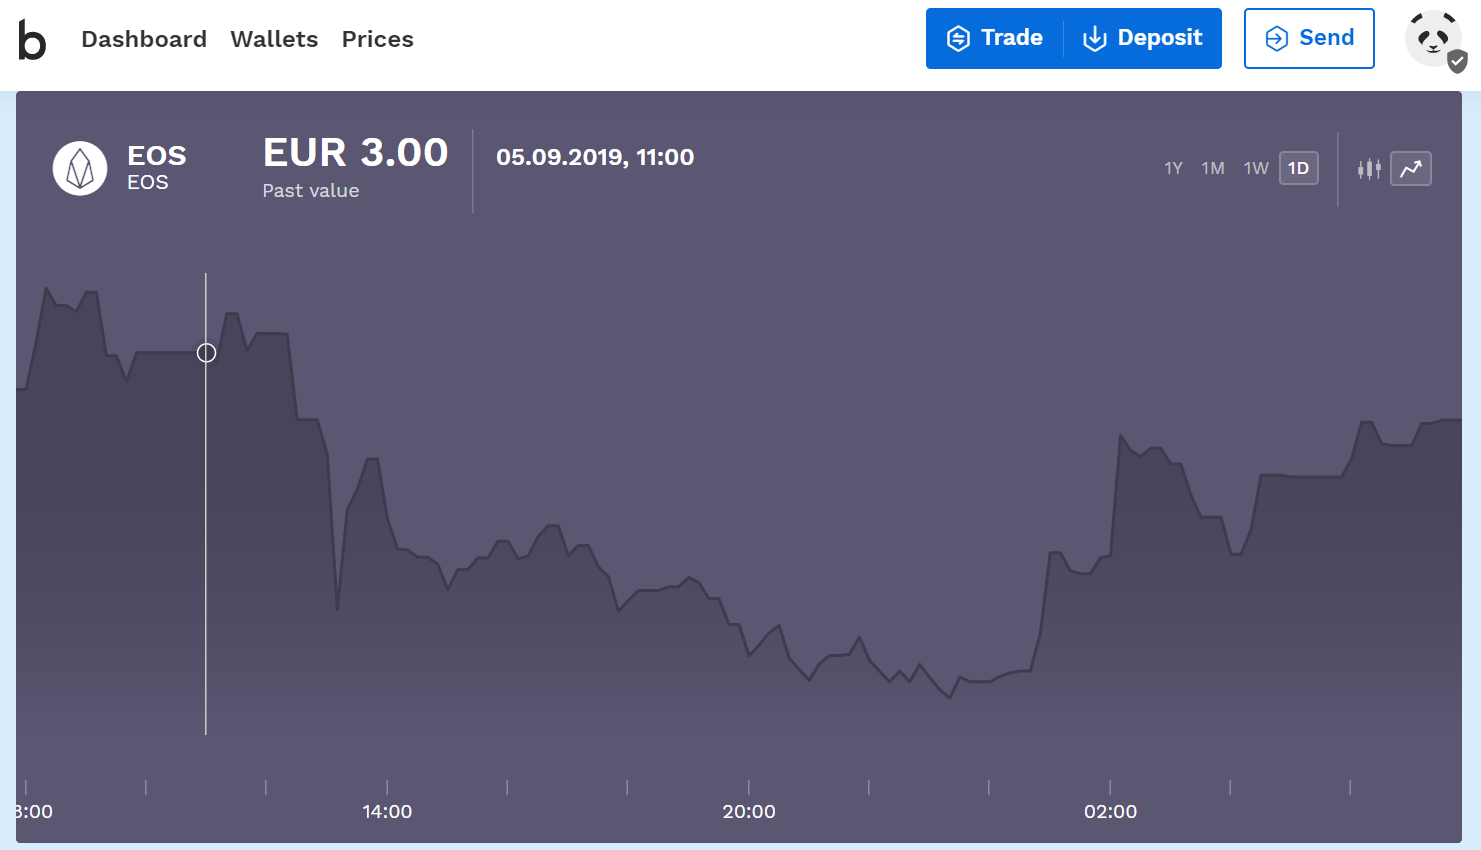
Bitpanda is a very suitable option for people who want to buy EOS directly, as their verification process takes no more than fifteen minutes and the exchange supports direct purchases of the cryptocurrency.
Step 3 – Transfer your tokens to your wallet
This is the step that takes the least time to complete but is simultaneously the most important part of the process.
After successfully purchasing EOS on one of the exchanges it is essential that you transfer your tokens to your EOS wallet. You should do that in order to protect your investment.
Storing cryptocurrency in exchanges is not advised, as these online platforms are very vulnerable to outside hacks, which might result in you losing your assets to theft or fraud.
In order to protect yourself against such instances, always use a trusted wallet for storing your EOS. As mentioned before, our top choices are Ledger and Atomic.
What is EOS?
EOS is a relatively new phenomenon in the cryptocurrency scene, and its’ main goal is to be a direct competitor of Ethereum. EOS is a decentralized platform, which allows developers to create applications based on blockchain – decentralized apps, or Dapps.
While EOS is more versatile in the functions available to developers when compared to Ethereum, the platform is more centralized, as only about twenty computers are responsible for producing new blocks in the chain. Not only that, but EOS is designed to perform thousands of transactions, and there is no transaction fee.
EOS was created by Dan Larimer, who also developed projects like Steem and BitShares.
Updates/Developments – 20 Nov 2019
- EOS is facing severe clogging due to EIDOS token and threatening to plunge the price even further. The network has been seized by a token called EIDOS whose purpose is still unknown. It has also begun to affect the block building efforts.
- China’s state-backed tech workgroup’s latest crypto rankings have put EOS at the top spot; way above Bitcoin which retains 11th spot in the rankings. With China’s blockchain boom, EOS will surely go places.
- Block.one, EOS developer, has launched EOSIO version 2.0. The open-source protocol now delivers an improved proof-of-stake along with better-decentralized apps.
Conclusion
Buying EOS can be easy if you follow our detailed guide. There is nothing that can stop you from purchasing some tokens if you follow the instructions above.
Get a wallet, go to an exchange, buy EOS, and transfer it to your wallet. It is that simple. Of course, if you decide to diversify your cryptocurrency portfolio you can always check some of our other guides for more information about specific tokens.


